So you're a fan of the occasional #food post, eh?
Good man. We too appreciate an artfully shot gourmet fish finger sandwich. Just last week we gathered around a screen to salivate over a particularly attractive cheesy roast potato.
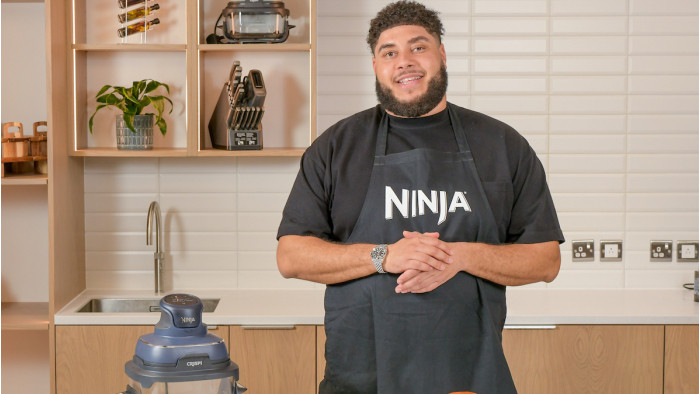
Yet try as we might, our own food snaps are never quite as saliva-inducing as those of the pros. Imagine our delight then when we were invited to attend a food photography masterclass to celebrate the 2016 Sony World Photography Awards.
Overseen by king of capturing the culinary Hugh Johnson, and armed with a Sony α7R II camera, we picked up some skills that you can still employ on your smartphone for taking the perfect picture of your dish of choice.
Just don't hashtag it to buggery, okay guys?

Be quick
"The longer you take to photograph your food, the more it will dry out, it'll wilt - you lose the spontaneity of your shot," explains Johnson.
If you're cooking the food yourself or waiting for it in a restaurant, be sure to have worked out the best angles for lighting, background and foreground before the food is ready/arrives and starts going cold.

Use your props
From your plate selection to the style of cutlery, try and pick something interesting.
"Rather than just going for a plain plate, picking something with texture or fluting will pick up little highlights," says Johnson. The more interesting the surface of a plate, the easier it is to take a compelling photo. "It gets difficult when you've got a boring white plate."
"Most adverts will add a fork to the dish, but that's very staged. Try something different - add two forks, to suggest it's being shared, or compose something in the background to suggest it's a more casual shared meal."

Don't use direct light
Lining up that plate in glowing beam of sunlight? Stop it. Just stop.
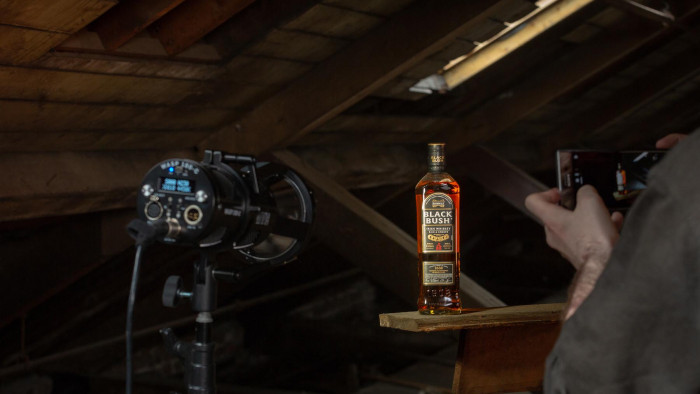
"The most simple way of lighting a dish is reflecting light in your subject. You don't want direct light - it's much better to keep your subject in a fairly subdued light," explains Johnson.
If you're able to reflect light onto the dish, it's able to create more interesting highlights, rather than becoming oversaturate in direct sunlight.

Grab a window seat
"For the best light in a restaurant, be by a window, but don't put your dish in direct sunlight. It'll blow out any contrast you're able to get in your dish."
What you're aiming for is to gain reflections in the surface of your dish, rather than flooding it with light.
"Never over light it."

Experiment with backlighting
No matter whether you're in a restaurant or kitchen, you'll be surrounded by tools for helping to reflect some backlight into a photo.
Kitchen: try angling a baking tray to reflect light into a dish rather than subjecting it to direct light.
Restaurant: you might get some funny looks, but holding up a white cloth napkin to the side of a dish can add the perfect amount of reflective glow to an image.

Tuck your elbows in
A rule you should follow whether you're taking a photo of a still-life or moving subject: always tuck your elbows in to create a stable cradle for your camera.
If you leave both your elbows floating about, you'll struggle to take an accurate image. "One of the reasons a photo might not be pin sharp isn't because of the lens, it's because the camera has been shaking about," says Johnson.


